Part 1 – Programmatically registering and configuring your Genesis custom blocks
In the last 3 months I’ve given upwards of a dozen presentations on building custom blocks with Genesis. Some of these were at industry events like WordSesh and DeCode, where others were presentations to some of our WP Engine customer dev teams. I think at nearly all of them the same question has been asked:
“Can we put our custom block templates in a plugin?”
You see, at these presentations there’s a lot to cover and I typically take the path of least resistance. With Genesis Custom Blocks (GCB) this is templating within your theme files. This establishes the fundamentals nicely, but once people get the nuts-n-bolts of it all, packaging within a plugin is the next logical step.
So, that’s what we’re going to look at. I’ll bypass the typical block creation steps as I have other tutorials that cover that, and move straight to how you can put your custom blocks in a plugin.
The endgame of the plugin is that a user could install / activate it alongside GCB and a custom block with all of its templates will be available to the site.
Why is this useful?
- You can reduce the risk of user “interference” with your custom blocks by registering/configuring in code
- You can distribute GCB compatible custom blocks easily
- You can better componantise your custom blocks for reuse in other projects
There are 2 main parts to this work:
- Programmatically registering and configuring the custom block
- Putting it all in a plugin
This post is going to cover the first part. The second will be covered in a follow-up post.
Let’s dive right in!
Programmatically registering and configuring the custom block
Genesis Custom Blocks has a (pretty awesome if I do say so myself) user interface for adding and configuring a custom block. What you may not know is that it also has a simple API for doing the exact same thing in code.
Let’s build a custom block using this method. We’re going to make a “Team Member Block”. The kind of block you would place multiples of on a team page.
For reference, it looks like this on the frontend:

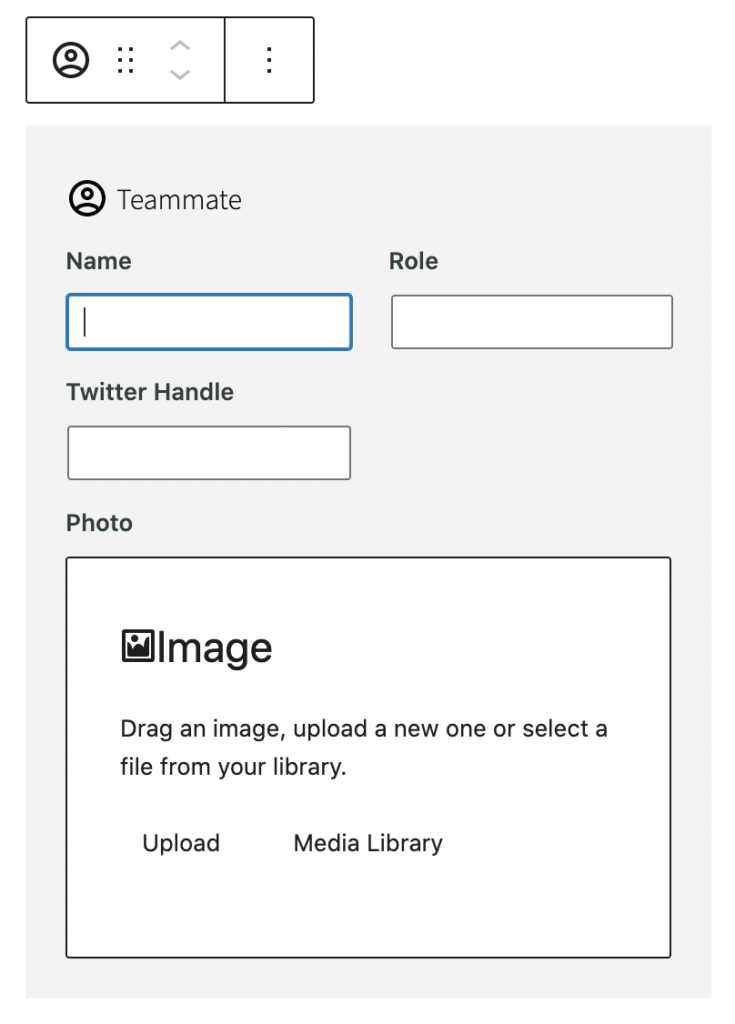
It will have 3 text fields for name, role, and twitter handle, and a single image field for the teammates photo.
To keep things focused for now, we’re going to drop this just into our theme’s function.php file. We’ll move it to the plugin later on.
So in functions.php we use a function that ships with Genesis Custom Blocks called add_block(). You guessed it. It adds a block. 🙂 While adding the block, it also lets us add the fields as well.
So our code snippet we add to functions.php looks like this:
use function Genesis\CustomBlocks\add_block;

function add_my_teammate_block() {
    add_block(
        'teammate',
        array(
            'title'    => 'Teammate',
            'category' => 'common',
            'icon'     => 'account_circle',
            'keywords' => array( 'teammate', 'person', 'user' ),
            'fields'   => array(
                'name' => array(
                    'label'   => 'Name',
                    'control' => 'text',
                    'width'   => '50',
                ),
                'role' => array(
                    'label'   => 'Role',
                    'control' => 'text',
                    'width'   => '50',
                ),
                'twitter-handle' => array(
                    'label'   => 'Twitter Handle',
                    'control' => 'text',
                    'width'   => '50',
                ),
                'photo' => array(
                    'label'   => 'Photo',
                    'control' => 'image',
                    'width'   => '100',
                ),
            ),
        )
    );
}
add_action( 'genesis_custom_blocks_add_blocks', 'add_my_teammate_block' );
Things to take note of:
- To avoid conflicts with other plugins, the
add_block()function is namespaced. In order to use it, you must include the namespace withuse. See the first line of code above. - We set up the function
add_my_teammate_block() - Inside this we run the
add_block()function and include all the configuration for both the block and its fields - We add our 4 fields. 3 text fields and 1 image field.
With this in our functions.php file, we have our block available to us in the block editor.


Note that I have also set up the block template files in the theme. I won’t share those here as I follow the standard process outlined in the tutorials here and here.
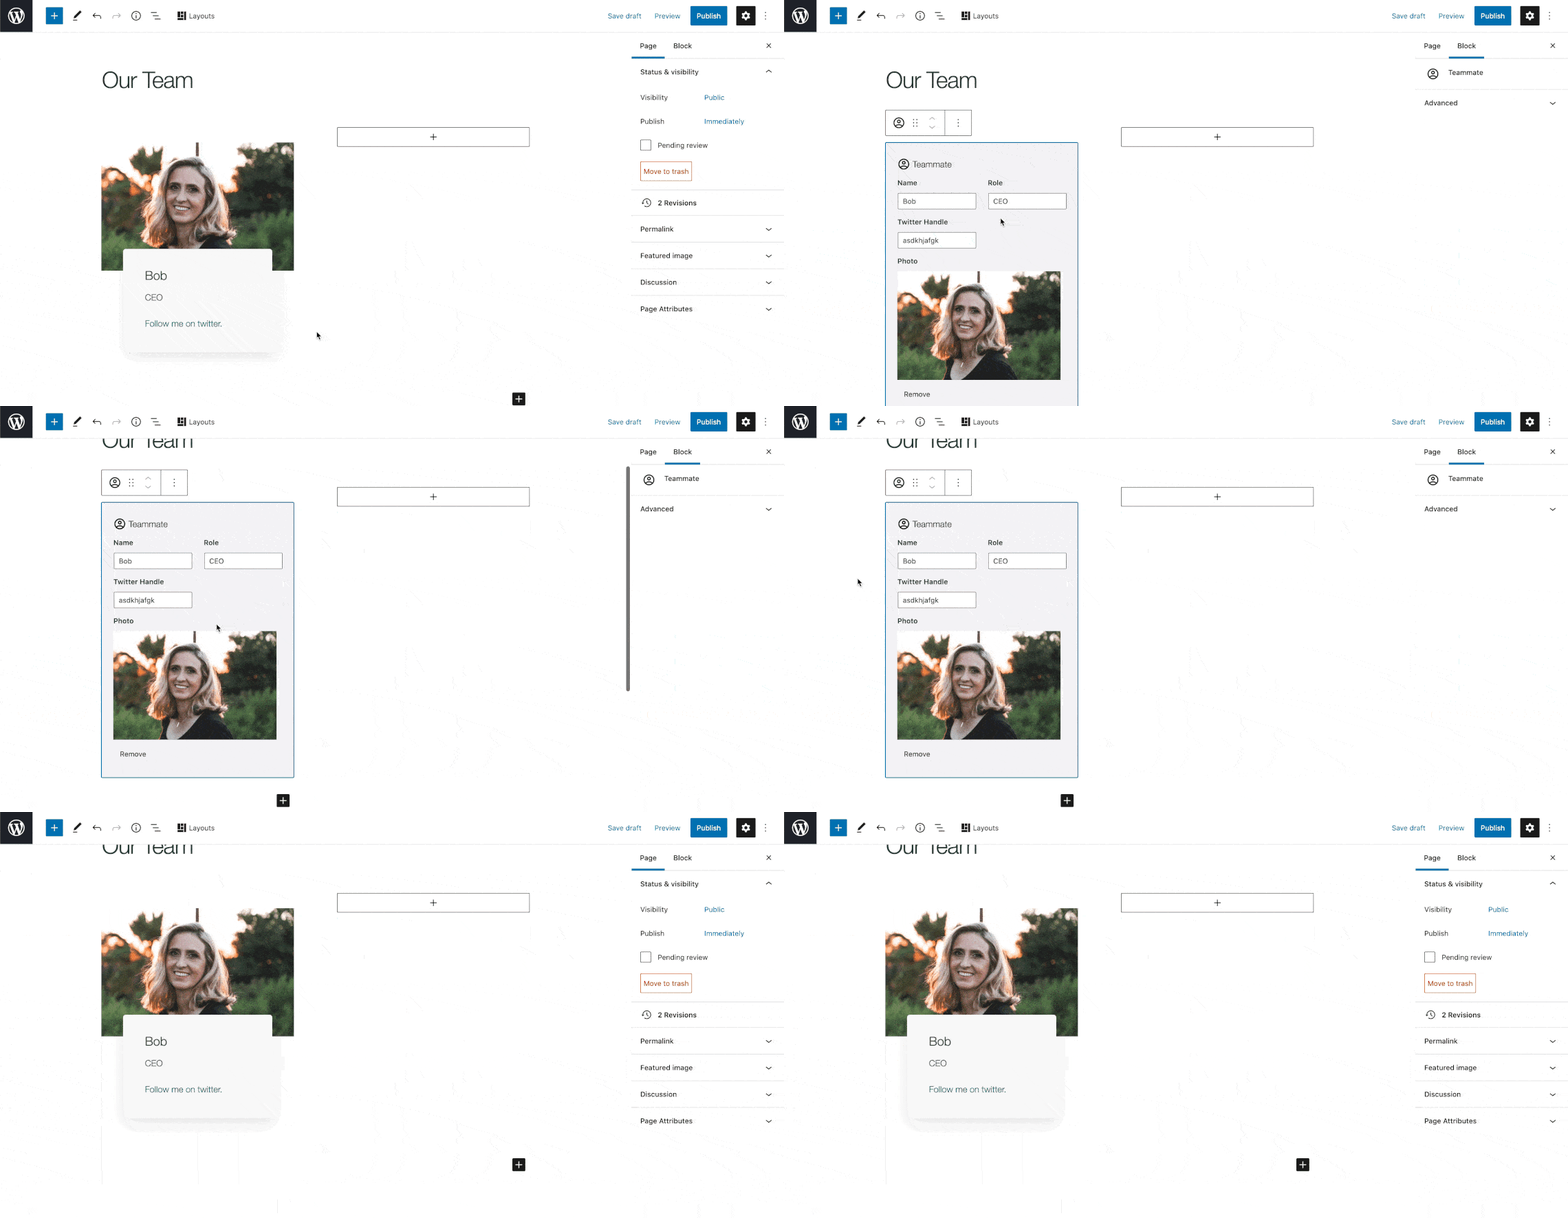
So, we can add the block, fill in the form, and hey presto, it looks great!

One final thing to point out is that if you go visit the table of custom blocks in the WordPress admin, where we usually add and configure our custom blocks, you’ll notice that this teammate block doesn’t appear in the list.
So that covers the first piece on creating a custom block plugin. On its own, the above is pretty cool, but next time I’ll walk you through how to bring it into a stand alone plugin.
